

Installation & Setup
Welcome to SinceCode Booking! This guide will walk you through the simple process of installing and setting up your booking plugin. The entire process takes just a few minutes, and you’ll be ready to start accepting bookings right away.
1 Install the Plugin
To install the SinceCode Booking plugin:
- Navigate to your WordPress admin dashboard
- Go to Plugins → Add New
- Search for “SinceCode Booking” in the search bar
- Click the Install Now button
- Once installed, click the Activate button

The SinceCode Booking plugin in your WordPress plugins list
2 Configure Email Notifications (Optional)
After activation, you’ll be prompted to opt in to email notifications from SinceCode. This step is optional but recommended.
What you’ll receive:
- Security and feature updates
- Educational content to help you get the most from your booking system
- Occasional offers and tips
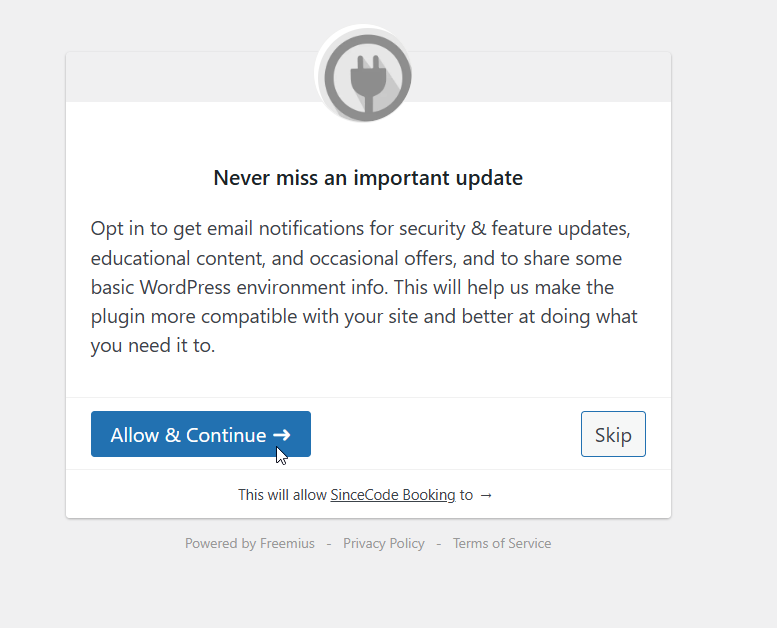
Choose whether to receive email notifications
You have two options:
- Allow & Continue – Subscribe to updates and continue to the dashboard
- Skip – Proceed directly to the dashboard without subscribing
💡 Tip
We recommend allowing notifications so you stay informed about important security updates and new features that can improve your booking system.
🎉 That’s It! You’re All Set!
Welcome to your SinceCode Booking Dashboard. You’re now ready to start creating your booking system.
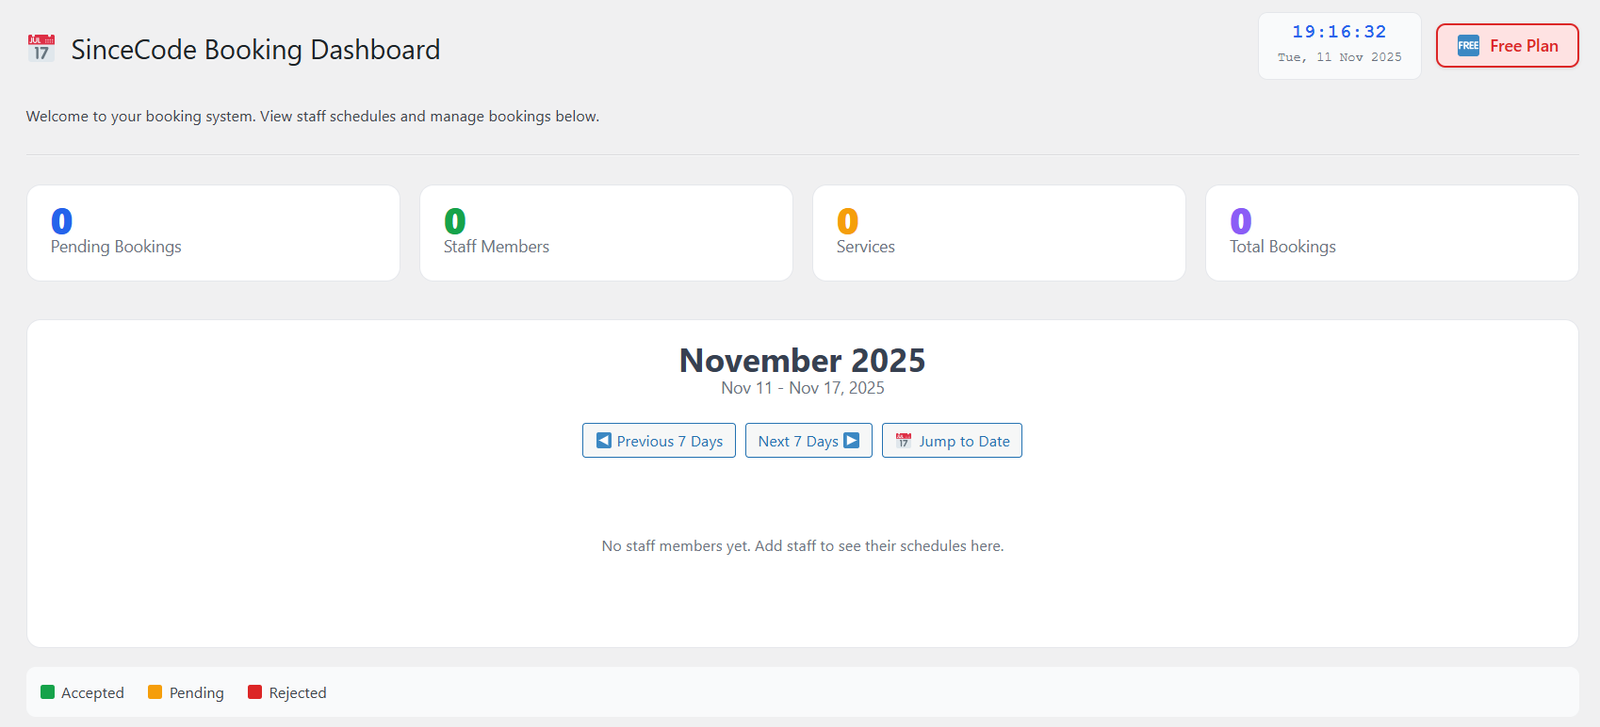
Your SinceCode Booking Dashboard – Your central hub for managing bookings
Next Steps
Now that your plugin is installed, here’s what to do next:
- Add Staff Members – Set up your team members who will be taking bookings
- Create Services – Define the services customers can book
- Configure Your First Booking Form – Set up your booking form and embed it on your site
- Customize Settings – Adjust email notifications, business hours, and more